







Everything you need to install or replace a bathroom exhaust fan the right way - tools, wiring safety, ductwork, sizing checks, and a clear line between what's a reasonable DIY job and what belongs to a licensed pro.
A bathroom fan installation is a genuinely doable DIY project for most homeowners when it's a straightforward replacement: same ceiling location, existing duct run reused, existing switch wiring intact. At Bathify, we walk readers through this kind of job constantly, because it's one of the highest-value, most overlooked upgrades in an older bathroom - and it doesn't require touching plumbing or moving fixtures.
Where it stops being a weekend DIY project is anything involving new electrical work: running a new circuit from the panel, adding a new switch box where none exists, or any wiring situation you're not fully confident identifying and handling safely. Per the National Electrical Code (NEC), bathroom circuits serving wet-area equipment need GFCI protection, and panel-level work or new circuit runs should go to a licensed electrician. Ductwork that needs to be routed through a finished ceiling, an exterior wall, or a tight attic with limited access is also a point where many homeowners bring in an HVAC or general contractor rather than DIY-ing the whole run.
If you haven't already, it's worth reading our CFM, sones, and sizing guide before you buy a fan, and our guide on venting without an attic or outside wall if your bathroom is interior or below an occupied space. This installation guide assumes you already have the right fan for the job.
Bathify doesn't sell bathroom exhaust fans or ducting hardware - our range is vanities, mirrors, medicine cabinets, towel warmers, and bathroom accessories. What we do is write the most useful, accurate installation guidance we can, sourced from code bodies and ventilation authorities, so you know exactly what to expect before you start. For the fan itself and duct materials, see our buying-guide posts linked throughout this article, and for the electrical tie-in or duct work you're not comfortable doing yourself, bring in a licensed electrician or HVAC pro.
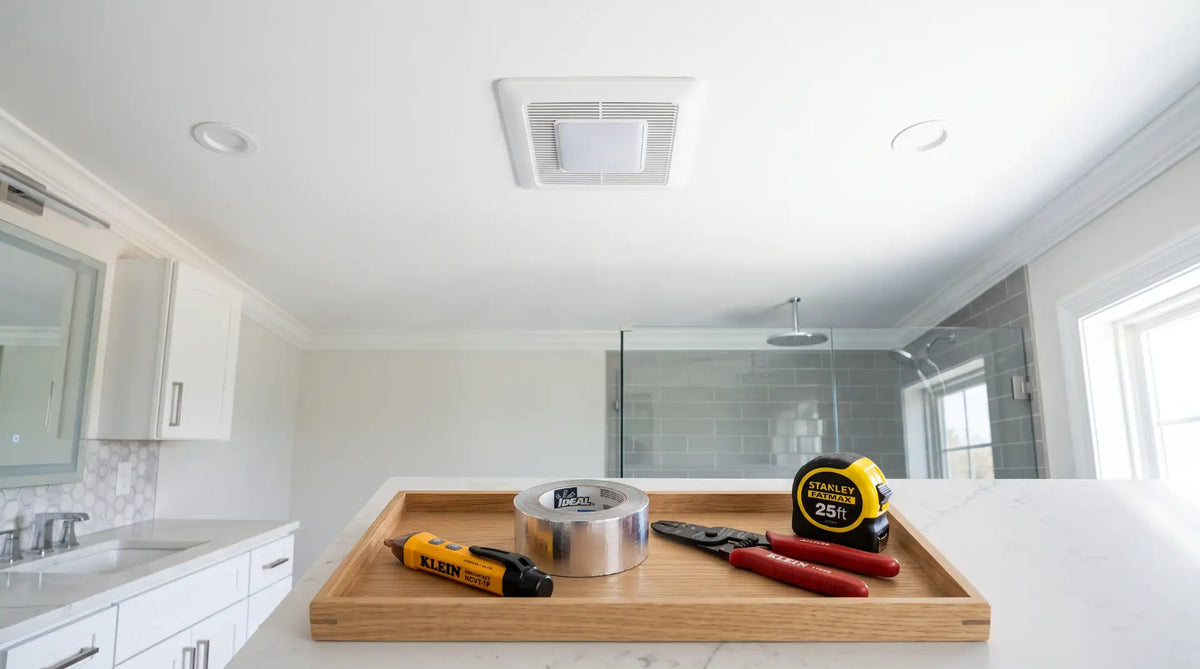
Having the right tools staged before you cut into a ceiling saves an installation from turning into a multi-day project. Most of this list is standard homeowner toolkit territory, with a couple of ventilation-specific items worth buying rather than improvising.
Non-contact voltage tester, wire strippers, wire nuts, cable staples, a headlamp for attic work, and a multimeter if you want to double-confirm a dead circuit.
Drywall/keyhole saw or oscillating multi-tool, stud finder, tape measure, drill/driver, screws or fan-specific mounting hardware, and a drop cloth for debris.
Duct sized to the fan's outlet (typically 4" round), foil duct tape (not cloth "duct tape"), clamps or zip ties for mechanical connections, and insulation sleeve for runs through unconditioned space.
Fire-rated caulk or spray foam for the ceiling opening, exterior-grade sealant for the wall/roof cap termination, and touch-up paint or trim to finish the ceiling around the new grille.
Before you cut a single hole, confirm the fan you have (or plan to buy) is actually sized correctly for the room. Installing an undersized fan perfectly doesn't fix the fact that it can't clear the bathroom's moisture load - and re-doing the installation later with a different fan means repeating the electrical and ductwork steps.
If your bathroom is fully interior with no attic or exterior wall nearby, sizing is only half the equation - you also need a viable path to the outside. Review venting options without an attic or outside wall before you commit to a fan location.
Find the breaker controlling the bathroom circuit and switch it off. Then, before touching any wire, confirm the circuit is actually dead using a non-contact voltage tester at the switch box, the fan location, and any junction box you'll be working in. Bathify's standing advice: never trust a breaker label alone - always verify with a tester, every single time, even on a "quick" swap.
For a replacement, remove the grille, disconnect the wiring at the junction, detach the duct connection, and unscrew the housing from the joists. For a new installation, choose a location centered in the bathroom or over the shower/tub enclosure, with clear joist bay access above for both the housing and a reasonably short, straight duct run to the exterior.
Dry-fit the housing against the framing first and mark the rough opening to the manufacturer's specified dimensions - don't estimate. Secure the housing to the joists using the fan's mounting brackets or hanger bars, keeping it level and fully supported; a housing that flexes or sags over time will eventually rattle or leak.
Rough opening is set by the fan, not a standard. Most residential bathroom fan housings need a rectangular opening in the range of roughly 8×10 inches to 10.5×14.5 inches between joists, but this varies significantly by model and CFM rating. Always cut to the manufacturer's stated rough-in dimensions rather than estimating, and confirm you have adequate joist bay clearance for both the housing depth and the duct connection before you cut.
Bathroom fan wiring generally involves a line-in (power), a switch leg (if the fan is separately switched from the light), and a ground connection, plus a neutral if required by the fan's design. Wire colors and terminal layouts vary by manufacturer and by the existing wiring in your home, so this guide won't promise a universal color-to-color match - follow the fan's own wiring diagram and match it against what's actually in your junction box. If anything about the existing wiring configuration is unclear or doesn't match the fan's instructions, stop and bring in a licensed electrician rather than guessing.
Attach duct to the fan's outlet collar with a mechanical connection (clamp or sheet-metal screws), then seal the joint with foil duct tape or mastic - never cloth-backed "duct tape," which dries out and fails over time. Route the duct along the shortest reasonable path to an exterior termination, minimizing elbows, and insulate any section of duct passing through unconditioned attic space to prevent condensation inside the duct. See our venting guide for routing strategies when a straight run isn't available.
Once the housing is mounted and wired, finish the ceiling opening around the housing with fire-rated caulk or foam to air-seal the gap - an unsealed gap lets conditioned air leak into the attic year-round, working against your HVAC system regardless of how well the fan itself performs.
Restore power at the breaker, run the fan, and check the exterior termination for airflow (a tissue held near the outside vent cap should visibly move). Check every duct joint and the ceiling seal for air leaks with your hand. Confirm the fan runs quietly without rattling against the housing or ductwork.
Snap or screw on the finished grille per the manufacturer's instructions, and do a final check that it sits flush against the ceiling with no visible gaps.
More bathroom fan complaints trace back to bad ductwork than to a bad fan. A quality fan pushing air through an undersized, leaky, or elbow-heavy duct run will still perform poorly and sound loud, because it's fighting static pressure the whole way. Three things matter most: match the duct diameter to the fan's outlet size (don't neck down to a smaller duct to use material you already have), keep every mechanical joint clamped and taped or mastic-sealed, and insulate any duct section running through an unconditioned attic or crawlspace so warm, moist exhaust air doesn't condense inside the duct and drip back toward the fan.
Per IRC-based venting guidance, the duct must terminate outside the building envelope through a wall cap, soffit vent, or roof cap - never into an attic, crawlspace, or soffit without a proper termination fitting. If your layout makes a clean exterior run genuinely difficult, our venting without an attic or outside wall guide covers the realistic alternatives, including when a ductless fan is and isn't an appropriate substitute.
| Mistake | Why It Happens | What It Causes |
|---|---|---|
| Undersized duct | Reusing whatever duct was already there, or buying smaller to save cost | Restricted airflow, higher static pressure, louder operation, reduced effective CFM |
| Too many elbows | Routing around joists or obstacles without planning the path first | Each elbow adds resistance; a duct run with 3+ elbows can cut real airflow dramatically below the fan's rated CFM |
| Unsealed joints | Skipping tape/mastic or using cloth duct tape that fails over time | Warm, moist air leaks into the attic space, risking condensation, wood rot, and mold in the attic |
| Wrong switch wiring | Guessing at wire matching instead of following the fan's diagram against actual house wiring | Fan runs continuously, doesn't turn off with the switch, or trips the breaker |
| Forgetting the damper | Reusing an old duct cap or skipping the backdraft damper at the termination | Cold air and pests can enter through the duct when the fan is off; without a damper, backdrafting is common |
Permit requirements for bathroom fan work vary significantly by municipality, so Bathify's guidance here is general: check with your local building department before you start, especially if the project goes beyond a simple like-for-like swap. A straight replacement using the existing circuit and duct run often falls outside permit requirements in many areas. New electrical circuits, structural changes to cut a new roof or wall termination, or any work your jurisdiction has adopted specific amendments for under the ICC's International Residential Code (IRC) is more likely to require a permit and inspection.
On the electrical side, the National Electrical Code (NEC) sets baseline requirements for GFCI protection on bathroom circuits that many local codes adopt directly. When electrical work is involved beyond a simple fixture swap, a licensed electrician who pulls the permit and schedules inspection is the reliable way to stay compliant and keep your homeowner's insurance coverage intact.
A new exhaust fan solves the moisture-removal problem, but it's often installed alongside other upgrades that reduce condensation and humidity around the mirror and vanity zone specifically. Bathify's own range doesn't include fans or ducting - it's vanities, mirrors, medicine cabinets, towel warmers, and bathroom accessories - but these are genuinely complementary, not substitutes for proper ventilation.

An anti-fog LED mirror keeps the mirror surface clear during and after a shower using a low-voltage heating element - a nice complement to a properly sized exhaust fan, not a replacement for one. Browse the mirror collection at Bathify, which includes LED and anti-fog options.

If your fan installation already has you opening up a ceiling or wall, it's a reasonable moment to also consider a recessed medicine cabinet while the wall is accessible. See options in the bathroom accessories collection at Bathify, which includes medicine cabinets and linen storage.

A heated towel rack helps towels dry faster between uses, reducing lingering damp odor in a small bathroom - a nice secondary defense alongside proper exhaust ventilation. See the electric towel warmer options in the bathroom accessories collection at Bathify.
Should You DIY This Install?
If you're replacing an existing fan in the same spot, reusing the duct run, and comfortable verifying a dead circuit before you touch any wire, this is a reasonable weekend project - most homeowners can complete it in an afternoon. If you're adding a fan where none existed, running new duct through a difficult attic, or the wiring doesn't clearly match what the fan's instructions describe, that's the point to bring in a licensed electrician and, where duct routing is complex, an HVAC pro. Confirm your CFM sizing first, follow the step order above, and never skip the voltage test - it's the one step with zero acceptable shortcuts.
Pair Your New Fan With the Right Fixtures
Bathify doesn't sell fans or ducting - but we do carry the anti-fog LED mirrors, medicine cabinets, and towel warmers that pair naturally with a properly vented bathroom. Free shipping on orders over $50. Shipped across the USA.


