







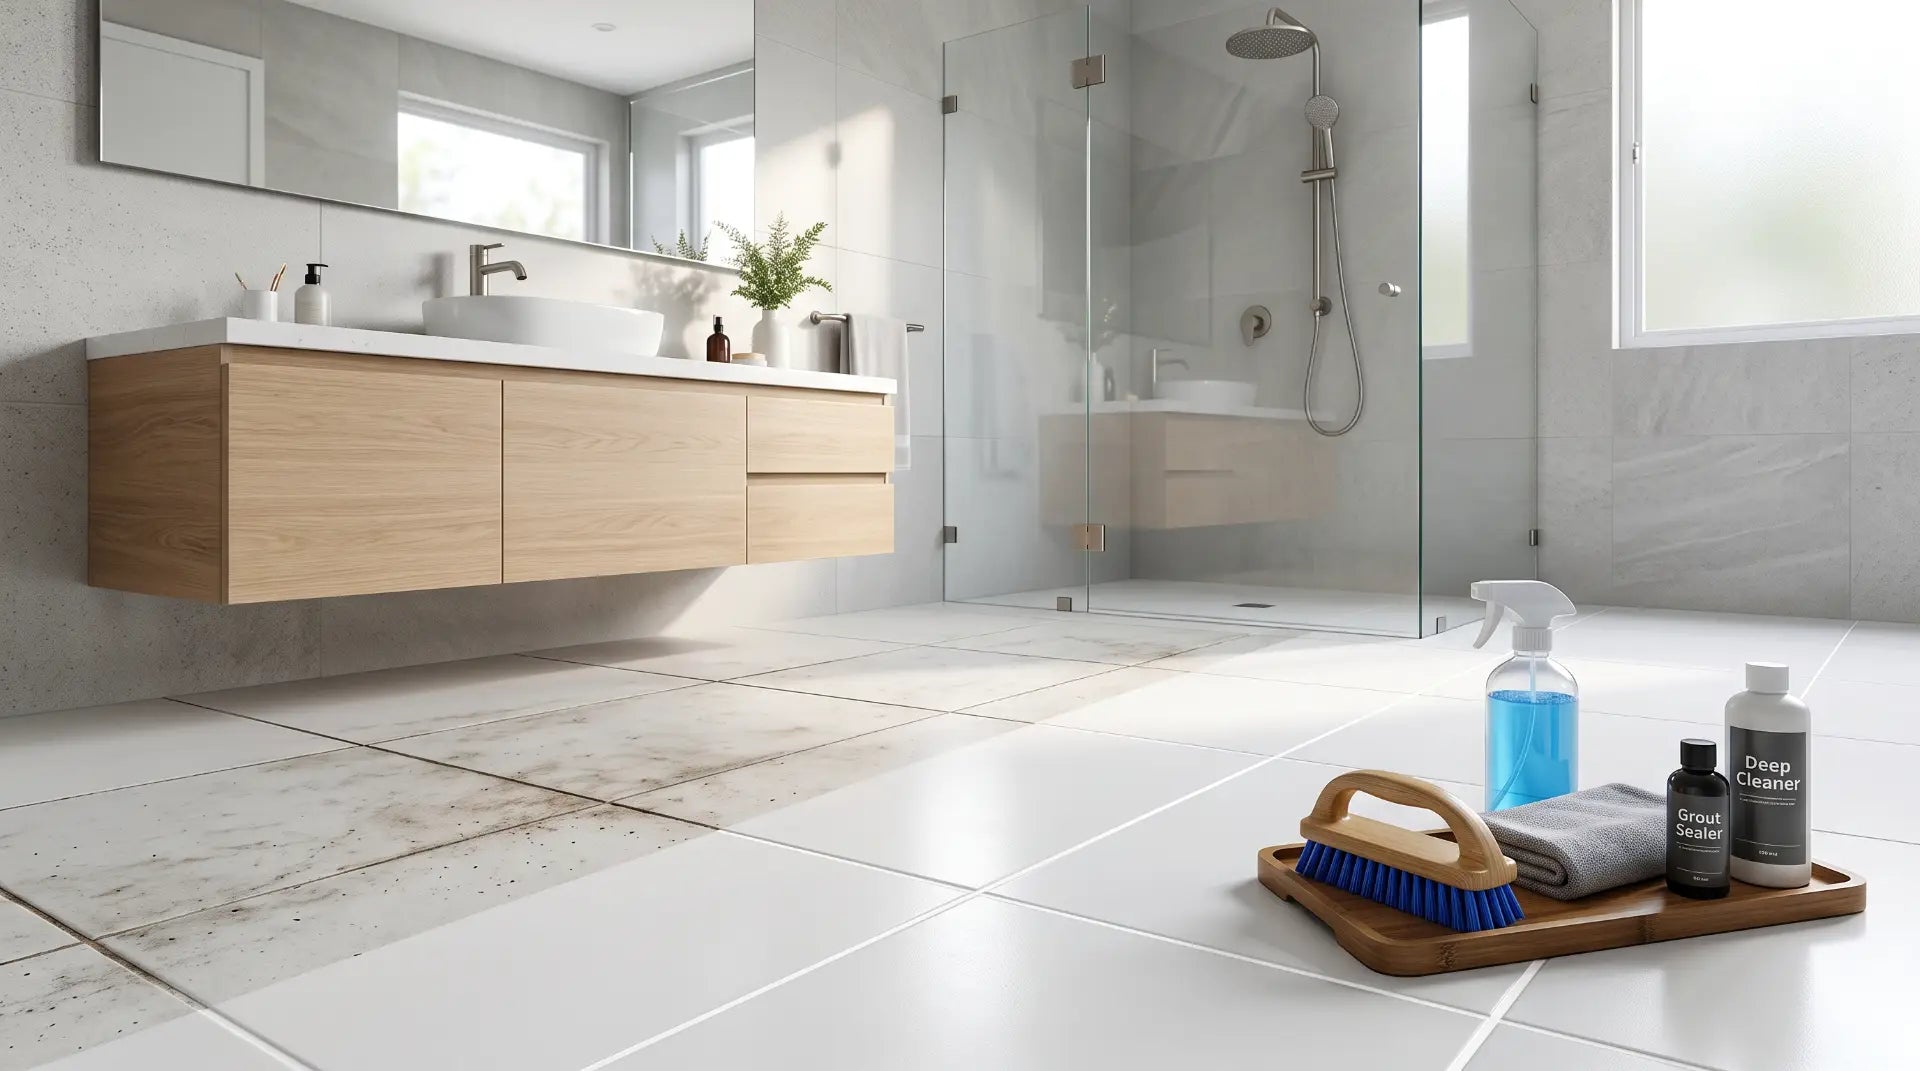
The complete, no-fluff guide to cleaning bathroom tile grout - matched by grout type and stain level. Covers the best commercial products available at US retailers, DIY formulas that genuinely work, power tool shortcuts, and the sealing + maintenance schedule that stops grout going black again in three months.

Grout lines are recessed, porous, and in a wet environment. That combination makes them a near-perfect trap for soap scum, body oils, mineral deposits from hard water, mold spores, and general grime. The frustrating part is that most homeowners reach for whatever bathroom spray is under the sink, spray the grout, wipe immediately, and wonder why the lines still look gray. The spray works on tile. Grout needs something different: a product that penetrates the porous surface, a dwell time measured in minutes rather than seconds, and physical agitation with a brush narrow enough to actually reach the grout joint.
This guide covers how to clean bathroom tile grout properly - matched to the specific stain type you're dealing with and the tile material you're working with. Getting these two variables right is what separates a cleaning session that transforms the floor from one that leaves it looking like you tried. We'll cover the commercial products actually worth buying at Home Depot and Lowe's, the DIY formulas that legitimately work, power tool shortcuts for large floors, and the sealing + maintenance habits that prevent this becoming a monthly battle. If your grout is on marble bathroom floors specifically, the stone-safe section in this guide is essential reading before you touch it with any cleaner.
Wiping or rinsing the cleaner off immediately after applying it. Most grout cleaners - commercial and DIY - need to dwell on the grout surface for 5 to 30 minutes to chemically break down the soil before you scrub. Applying a cleaner and wiping it off within 60 seconds is essentially just wetting the surface. Read the product dwell time and set a timer. That alone improves results dramatically.
Not all grout responds to the same cleaners. Using the wrong product on the wrong grout type is how you get permanent damage - etched natural stone, stripped color from pigmented grout, or degraded epoxy grout surfaces. Identify your grout type first.
The standard grout in the vast majority of US bathrooms - what you have unless you specifically requested otherwise. Highly porous, absorbs staining compounds readily, and responds well to a broad range of cleaners including oxygen bleach, alkaline commercial cleaners, and steam. Sanded grout (for joints ⅛ inch and wider) and unsanded grout (under ⅛ inch) clean identically. Requires sealing after cleaning to prevent rapid re-soiling.
Cement grout with added pigment (charcoal, tan, brown, navy, etc.). Bleach and oxidizing agents strip pigment permanently - a once-gray grout line becomes patchy white where bleach contacted it. Use only pH-neutral or mildly alkaline cleaners, oxygen bleach alternatives, or dedicated color-safe grout cleaners. Steam cleaning is the safest deep-clean option for pigmented grout.
Two-part resin grout used in high-end tile installations. Non-porous - it doesn't absorb staining compounds the way cement grout does. Rarely needs deep cleaning. When it does, use only pH-neutral cleaners and soft brushes; strong solvents and abrasive cleaners will damage the surface. Never needs sealing. Surface soil is usually surface-only and lifts with warm water and a soft brush.
Cement grout next to marble, travertine, slate, or limestone has a strict product limitation: nothing acidic can touch it or the adjacent stone surface. Acidic grout cleaners etch the stone permanently on contact. This category gets its own full section later in this guide. If you're unsure whether your tile is natural stone, scratch an inconspicuous area with a metal key - stone scratches, porcelain doesn't.
Test any cleaner on an inconspicuous grout joint first - every time, even with familiar products. A two-minute test in a hidden corner (behind the toilet, inside a cabinet base) tells you if the cleaner affects your specific grout color or adjacent tile finish before you commit to the whole floor. This is especially important with any new product or after a tile installation, where the grout may still be absorbing the sealer differently across the floor.
Grout discoloration looks similar from a distance but has four distinct causes that respond to completely different cleaning approaches. Matching the cleaner to the stain type is the most efficient path to clean grout - it means less scrubbing, faster results, and no wasted product.
| Stain Type | What It Looks Like | Where It Appears | Best Cleaner Type |
|---|---|---|---|
| Mold / Mildew | Black, dark gray, or pink spots with fuzzy or irregular edges; often circular or clustered | Shower grout lines, floor grout near tub, anywhere water pools and humidity is high | Bleach-based gel (non-stone tile only) or hydrogen peroxide paste |
| Soap Scum | Dull, hazy gray or white film coating over the grout; makes lines look flat rather than sharp | Shower walls, floor directly under showerhead, bathtub surround grout | Alkaline cleaner or oxygen bleach paste; dissolves soap-fat residue chemically |
| Hard Water / Mineral Deposits | White, chalky, or yellowish crusty buildup sitting on or in the grout; may be raised above the tile surface | Anywhere water sits or drips regularly - shower floor, around faucet bases, tub edge | Acidic cleaner (Zep, CLR-type) on ceramic/porcelain only; calcium remover on stone tile |
| General Deep Soil (Body Oil, Grime) | Even, progressive darkening across all grout lines; no distinct edges or clusters; usually worse on floor than walls | Floor grout throughout bathroom; worsens over years without sealing | Alkaline or oxygen bleach soak; may need multiple applications or professional cleaning on severe cases |
| Rust Stains | Orange-brown staining often running from a metal fixture or screw; concentrated near metal contact points | Around metal drain flanges, near old screws, below cast iron tub feet | Oxalic acid-based rust remover (Bar Keepers Friend paste); do not use bleach - it sets rust stains |
These are the products widely stocked at Home Depot and Lowe's stores across the US that actually deliver on grout cleaning. Not affiliate recommendations - matched to stain type and grout category with honest performance assessments.
The most consistently effective general-purpose grout cleaner for standard ceramic and porcelain tile floors and walls. The acidic formula penetrates cement grout quickly, breaking down both organic soil and light mineral deposits simultaneously. Apply, wait the full dwell time, scrub with a stiff grout brush, and rinse - most light to moderate staining lifts in one application. Not suitable for natural stone tile or colored grout. Price: $8-$12 per bottle.
The most effective mold killer for bathroom grout available at mainstream US retailers. The bleach-based formula kills mold at the root rather than just bleaching the surface color - critical for preventing rapid re-growth. Apply to dry or damp grout (not soaking wet - water dilutes the active bleach concentration), wait 5-10 minutes, scrub, and rinse with warm water. Ventilate the bathroom well during use. Never use on colored grout or near natural stone. Price: $5-$9.
One of the few commercial grout cleaners that is genuinely safe on natural stone tile - a critical distinction for any bathroom with marble, travertine, or slate flooring. The formula is strong enough to handle moderate soil and light mold on cement grout without the acid that would etch adjacent stone surfaces. Available at Home Depot and Amazon. If you have marble bathroom floors, this or a comparable pH-neutral stone cleaner is the only safe grout cleaning product to use. Price: $15-$20.
OxiClean mixed to a thick paste with water is one of the most effective low-scrub grout cleaning methods available. Oxygen bleach releases active oxygen that breaks down organic compounds - mold, soap scum, body oils - over a long dwell time without the harshness of chlorine bleach. Safer for colored grout than chlorine bleach (though a spot test is still recommended). Mix to a stiff paste, press into grout lines, leave 30-60 minutes, scrub lightly, and rinse. Available at every major US grocery and mass retail store for $10-$18 per large container.
For hard water mineral deposits and rust stains on ceramic or porcelain tile grout, this two-product approach handles both stain types: Bar Keepers Friend paste for rust and light mineral scale (applied with a damp cloth or soft brush), CLR for heavier calcium buildup. Both must be thoroughly rinsed - they are acidic and will damage the tile surface if left to dry. Neither is safe near natural stone tile. Available at Home Depot, Lowe's, and Target across the US.
Several DIY grout cleaning approaches genuinely deliver results for light to moderate soil - particularly useful when a commercial product isn't available or when the grout is in a sensitive surface context. The key is understanding what each method is and isn't capable of, and not expecting a DIY formula to replace a commercial cleaner on years-old staining.
The cleaner breaks down the soil. The brush removes it. Using a household sponge on grout lines - a surface that is recessed and roughly textured - is what makes grout cleaning feel futile. The right brush geometry matters as much as the product.
A brush specifically sized to fit into grout joints - typically ¼ to ⅜ inch wide with stiff nylon bristles. The OXO Good Grips Grout Brush and the Casabella Grout Brush are both widely available at Target, Walmart, and Amazon in the US for $6-$12. These are the right tool for spot cleaning, wall grout, and areas where precision matters. For floor cleaning across an entire bathroom, they become arm-tiring.
A cordless electric scrubber (brands: Homitt, Tilswall, Voweek - all available on Amazon for $25-$50) with a narrow corner brush attachment is the most practical power tool for bathroom grout cleaning. Provides enough torque to work cleaners into grout efficiently without the aggression of a drill tool. Multiple head attachments handle both floor grout lines and shower wall joints. Rechargeable via USB - no cord management issue in a wet bathroom.
A nylon cup brush or grout cleaning bit mounted in a standard power drill - the Grout Gator and similar drill brush kits are available at Home Depot and Amazon for $10-$20. Fastest option for cleaning a full tile floor. Use at low speed (under 300 RPM) to avoid flicking product and to prevent scratching the tile surface. Not recommended for natural stone tile grout or fine mosaic tile where the oscillating brush can chip edges.
A consumer-grade steam cleaner ($80-$160 from Bissell, McCulloch, or PurSteam) with a narrow grout nozzle delivers pressurized steam directly into grout joints, killing mold at the root and loosening soap scum without any chemical cleaners. Safe on all tile types including natural stone. Particularly useful in shower grout areas where chemical residue is hard to rinse completely. The steam also sanitizes the surface - useful for bathrooms shared by allergy or asthma sufferers.
If your bathroom floor is marble, travertine, slate, limestone, or any other natural stone, the standard grout cleaning rules do not apply. The most common and expensive mistake homeowners make is using a standard tile grout cleaner - which is acidic - on natural stone tile. The acid etches the stone surface on contact, producing permanent dull spots that require professional honing to fix. This is not recoverable with more cleaning.
| Product / Method | Safe on Stone Tile Grout? | Why |
|---|---|---|
| pH-Neutral Stone Cleaner (Black Diamond, Marble Life Stone Soap) | Yes - Preferred | Formulated for natural stone; no acid or alkaline extremes that damage stone surface |
| Steam Cleaner (no chemicals) | Yes | Heat and pressure only - no chemical reaction with stone mineral structure |
| Baking Soda Paste (plain water) | Yes - Light soil only | Mild abrasive, neutral pH; gentle enough for most stone surfaces |
| Oxygen Bleach (OxiClean) Paste | Spot test first | Generally safe but some stone types (especially dark slate) can be affected; always test in a hidden area first |
| Vinegar / Lemon Juice | Never | Acid reacts with calcium carbonate in marble, travertine, limestone - etches stone permanently |
| Chlorine Bleach (Tilex, Clorox) | Never | Bleaches and discolors stone color; damages stone binder over time |
| Zep, CLR, or any acidic tile cleaner | Never | Acid formulas; will etch marble, travertine, and limestone on contact - irreversible without professional honing |
| Grout Haze Remover (most brands) | Never unless stone-rated | Most contain hydrochloric or phosphoric acid - etches stone. Use only products explicitly labeled safe for natural stone. |
For mold in grout joints on marble or travertine tile, steam cleaning is the most effective chemical-free option. Alternatively, hydrogen peroxide (3%) applied carefully to the grout line only (avoiding stone contact where possible) for 20-30 minutes, then rinsed thoroughly, is generally safe for most stone types - but always test in a hidden corner first. For severe mold on marble grout that steam won't shift, a stone restoration professional can address it without chemical risk to the stone surface.
Follow this sequence for grout that has been neglected for months or years - dark gray or black lines on what was once white or light grout. This is the sequence that delivers the most dramatic visible improvement in a single cleaning session on standard ceramic or porcelain tile floors.
For floor grout in a shower where you can't easily rinse with a bucket, use a spray bottle filled with clean water for rinsing. Spray along the grout lines in sections and mop the dirty rinse water up with a large sponge. This avoids the splashing that gets cleaning chemical on shower walls and fixtures, and gives you better control over which areas you've rinsed versus which you haven't.
The single most common grout complaint is "I cleaned it and it was dark again within a few months." This happens because of three factors operating in combination: unsealed porous grout absorbing new soil immediately after cleaning; insufficient bathroom ventilation creating the humidity that feeds mold regrowth; and cleaning frequency too low to prevent soap scum from building back up to staining depth. Fix all three and grout stays clean far longer between deep cleaning sessions.
A penetrating grout sealer fills the microscopic pores in cement grout that otherwise absorb soap scum, minerals, and mold compounds the moment the bathroom is used again. Aqua Mix Sealer's Choice Gold and Miracle Sealants 511 Impregnator are both penetrating sealers available at Home Depot and Lowe's. Apply after grout is fully dry (minimum 24 hours post-cleaning, 72 hours post-installation), wipe off all excess before it dries on tile faces, and allow 24-hour cure time before full wet use. For a standard bathroom, one application takes 20-30 minutes and costs $18-$30. See our grout color guide for notes on how sealing affects colored grout appearance.
Most Americans run the bathroom exhaust fan during the shower and turn it off when they leave. The fan needs to run for 15-20 minutes after the shower ends - the humidity from the shower is at its highest just after the water stops. A bathroom where relative humidity stays above 60% for extended periods is a bathroom where mold in grout is inevitable regardless of how well you clean. In high-humidity climate cities like New Orleans, Houston, and Miami, a fan-timer switch (a $25-$40 upgrade at any hardware store) set to run for 20 minutes automatically after the light is switched off is one of the highest-ROI grout protection investments possible.
One weekly spray of a pH-neutral bathroom cleaner or a daily shower spray on grout lines - applied with a quick wipe or left to dwell per the product's instructions - prevents soap scum from advancing from light surface film to embedded staining. Method Daily Shower Spray and Clean Shower Daily Shower Spray are both effective non-acid daily-use sprays available nationally in the US. This weekly 5-minute habit is what eliminates the need for a monthly heavy cleaning session.
Cleaning removes surface and embedded soil. It cannot repair physically damaged grout. If any of the following conditions exist, no amount of cleaning product will produce an acceptable result - the grout itself needs to be replaced. Understanding this threshold saves hours of frustrated cleaning effort and protects the tile installation underneath.
Cracks in grout lines or areas where grout has crumbled out completely allow water to reach the subfloor and tile adhesive layer. This is how a tile floor fails over time. Cleaning cracked grout doesn't seal the crack. These sections must be removed with a grout saw or oscillating tool and regrouted. If crack patterns are widespread, the underlying cause (subfloor flex, tile movement) should be investigated - see our tiling guide for subfloor requirements.
If black mold returns to the same grout lines within 2-4 weeks of thorough cleaning with a bleach-based product, the mold has penetrated into the grout body itself and surface cleaning is removing only the visible layer. Grout that has been colonized at depth typically needs to be removed and replaced. Before regrouting, address the underlying humidity issue - moisture, not the old grout, is what caused the penetration.
Grout that is physically intact but permanently discolored (pigment stripped by bleach, permanent oil staining from years of unsealed use) can be addressed with a grout colorant/stain product before committing to full regrout. Grout colorant (Polyblend Grout Renew, available at Home Depot) is painted into the grout lines after deep cleaning, restoring a consistent color. Not a structural repair - purely cosmetic. Labor-intensive to apply neatly but far cheaper than removing and replacing grout on a full floor.
Tap individual tiles with a knuckle or a coin. A hollow or drum-like sound means the tile has debonded from the thinset beneath - water has infiltrated through failed grout and broken the adhesive bond. This is beyond a grout cleaning issue; it typically means tile replacement as well as regrout. A licensed tile contractor should assess any floor with multiple hollow-sounding tiles before further water exposure worsens the damage.
Match the Product to the Stain, Allow Dwell Time, Then Seal
For mold-heavy shower grout on ceramic or porcelain tile: Tilex Mold & Mildew Remover or a bleach gel. Apply to slightly damp (not soaking) grout, wait 5-10 minutes, scrub with a stiff brush, rinse thoroughly. Ventilate during and after. Never use bleach on colored grout or near natural stone.
For general gray darkening and soap scum on ceramic or porcelain tile: Zep Grout Cleaner and Brightener or an OxiClean paste. OxiClean requires a 30-60 minute dwell time but is gentler on pigmented grout and safe for multiple applications. Zep works faster for heavy soil.
For hard water mineral deposits in cities like Phoenix, Denver, or Las Vegas: Zep Calcium, Lime & Rust Remover or CLR on ceramic/porcelain only. Rinse completely before applying any other cleaner. Do not use on natural stone.
For any grout on natural stone tile (marble, travertine, slate, limestone): pH-neutral stone cleaner only - Black Diamond Stoneworks or Marble Life. Steam cleaning for deep cleaning without any chemical risk. No acid, no bleach, no standard tile cleaners. Ever.
After any deep clean, on any tile type: seal the grout. A penetrating sealer applied after cleaning is the single highest-impact step for extending the time between the next cleaning session. Combined with weekly maintenance spray and correct exhaust fan use, sealed grout in a well-ventilated bathroom typically stays clean for 3-6 months between deep cleans versus 4-8 weeks for unsealed grout.
Upgrade Your Bathroom at Bathify
Clean grout is only part of the picture. Bathify carries premium vanities, LED mirrors, faucets, and bathroom accessories that make the whole room look sharp - all with free ground shipping across the USA on orders over $50.


